

You've probably already heard of a new case study from China. The country has successfully deployed facial recognition technology for different purposes, including a service that lets KFC customers pay for orders with their faces.
Unsurprisingly, the food giant took advantage of all media coverage, but more interesting is a facial recognition system supported by the Alibaba payment service that has steadily accumulated all customer data, including their faces.
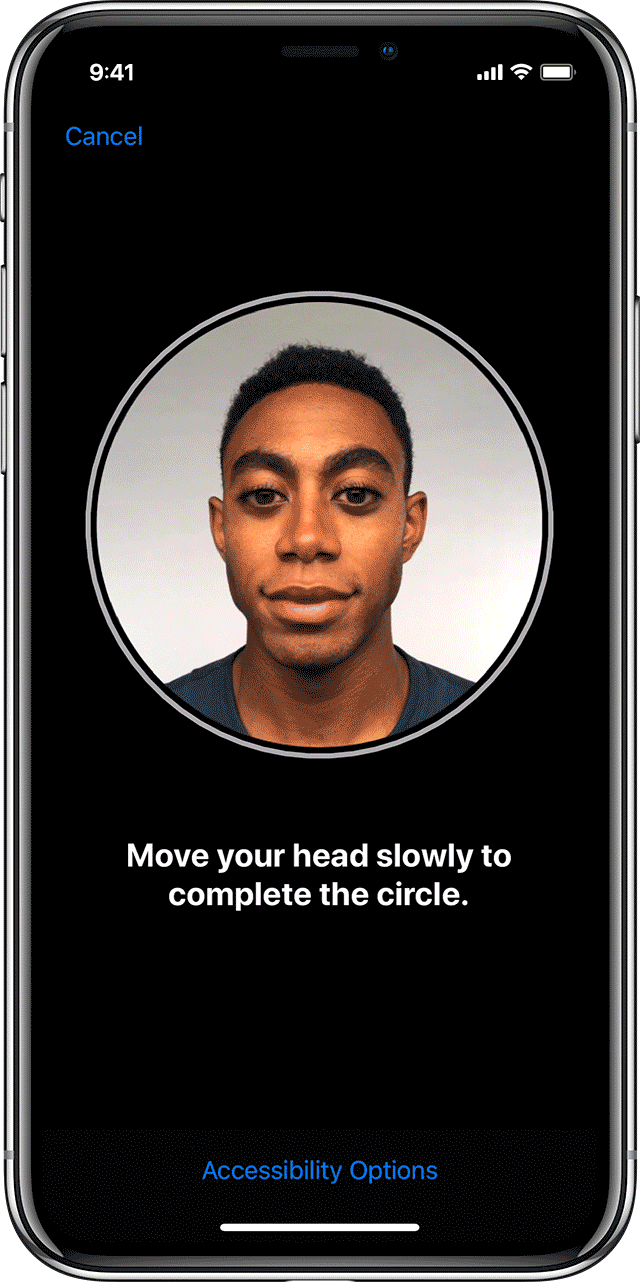
Alibaba proved that making purchases can be as easy as taking selfies, and you, too, can use such brilliant technology by using the Face ID system. The system was recently introduced with the new iPhone, and it promises even bigger advantages.
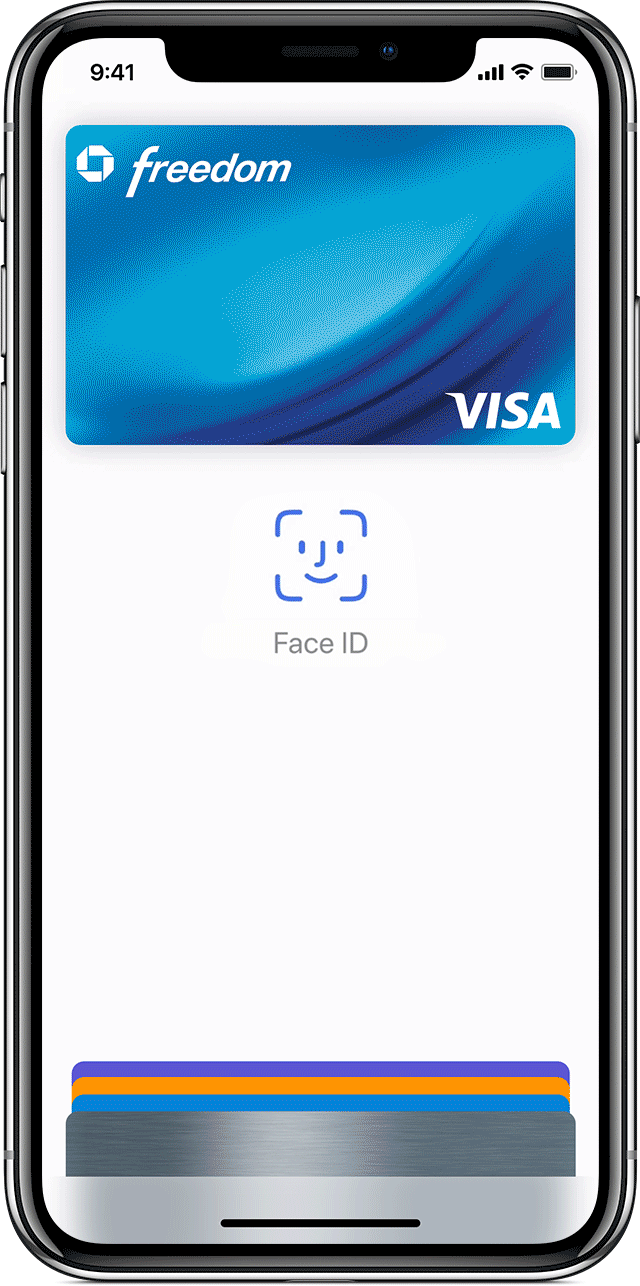
Touch ID has 20 times higher chances (1 in 20,000) that a random person can unlock your device. Of course, such a system can be successfully applied to one of the most sensitive activities of our everyday lives – payments. Face ID works with Apple Pay. To pay for things, the user should just double-tap the button on the side of the iPhone (fast access face recognition activation key) and look at the screen to authenticate and hold the device near the payment terminal. It's that easy! Face ID can be used to make purchases:
- In a store, use the NFC module in the payment terminal.
- Online, within an app or on an e-commerce store in Safari.
What's better, Face ID works with third-party apps like Mint, 1Password, E-Trade, etc. Thus, your app can be the next one to support Face ID payments, just like it supports Touch ID.
First Steps: Integration of Facial Payments in Web Store or Mobile App
Currently, users can only enable Face ID to make payments through the Apple Pay service. Therefore, if you want to include facial recognition for online payment in your app, you first need to integrate it with Apple Pay.
Apple Pay Advantages and Disadvantages
A few good things about Apple Pay:
- Apple Pay works across all Apple devices: iPhones, iPads, MacBooks, and iWatches.
- The service works with Visa, Mastercard, American Express, Discover, Interac, China Union Pay, Suica, the iD and QUICPay networks, and most card issuers and payment providers.
- By processing transactions via Apple Pay, you don't handle your customers' credit card numbers. Thus, you get rid of all the headaches associated with processing personal information. This is great because you don't need to deal with extra encryption and compliance. Plus, Liability for transactions might shift to the issuer.
- A small bonus: Apple Pay transactions processed on the web might be treated more favorably than standard transactions with a plastic card.
There are NO additional fees to accept Apple Pay!
Integration
- First, to integrate with Apple Pay, you need to register and configure your developer account for Apple Pay. We usually configure one while developing a mobile app.
- Secondly, it is absolutely required to configure the sandbox environment to test your Apple Pay account without actually transferring money back and forth. Our QA team usually does this.
- Then, you can integrate Apple Pay into your mobile app or web store.
Mobile App Face ID Integration
To turn on Face ID and all other authorization payment methods in your app, you'll need to enable the PassKit framework and Apple Pay capabilities in Xcode. The PassKit framework lets you add Apple Pay to your app or manage passes in the Wallet app so users can manage their Apple Pay payment cards. You would also need to register a merchant ID and create a Payment Processing certificate, which is a cryptographic key used to send payment data securely to your server.
What to Choose Between PHP and Python Backend Languages?
Bottom Line
Sadly, our iOS developer has run out of time and can't give more hints on how to integrate Apple Pay and Face ID payments. But here's a link to the official development guide, and if you possess the skills required to walk it through on your own, that is absolutely awesome, and we wish you good luck. For those of you who want to enable full Face ID capabilities, identify customers, and let them pay with a glimpse, Contact us! We know how to make it right!


